We are truly living in the future folks!
Or, I may have been living under a rock.
Seriously, I never thought this would be possible on iOS/iPhone. But with some initial setup it is!
So without further ado, this is how I managed to write and deploy this post using only my iPhone.
Apps Used
- Working Copy - Git client
- Textastic - Text editor with syntax highlighting
- Canva - Image editing and templating
- GitHub - Official GitHub app for viewing PRs
Workflow
In Working Copy I linked my GitHub account and cloned my blog repo. My blog is written in Gatsby and uses gatsby-remark-transformer to convert Markdown to what you see now. So in Working Copy I navigated to my posts directory and created a new directory. Within that directory I created an empty index.mdfile.
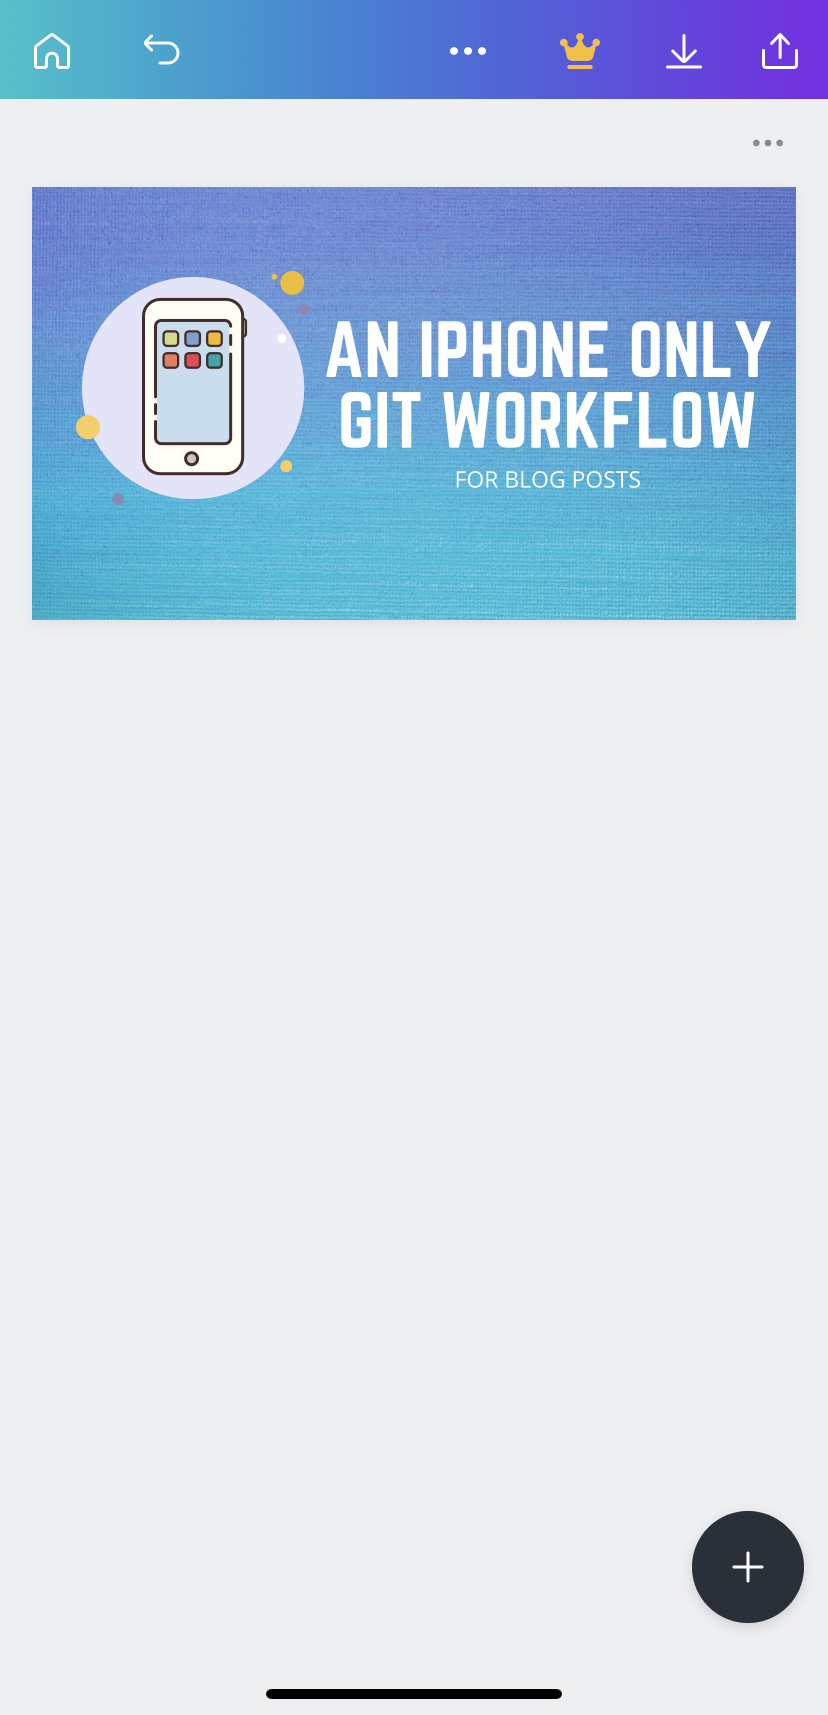
Next I opened up Canva and created an empty template of 1500px850px (my post banner) and created a quick banner. If you’ve never used Canva before, they have some very cool stock photos and templates.
Then in the Files app I enabled Working Copy as a location. Next, in Textastic I added an External Folder and chose my blog repo. Great! Now I can edit files directly in Textastic and the changes will reflect in Working Copy! Nifty.
Next I started writing this blog post. Text was easy enough. For images I first took the screenshots I wanted and saved them to my Photos. Then in Working Copy, under the correct directory I clicked the “plus” icon on the top right and imported the images. Then it’s a simple matter of renaming them properly and referencing them as you normally would in a Markdown file.
Now one thing I was missing from this workflow was the ability to do a yarn develop to preview my post locally. However, I use Netlify to deploy and host my blog and I make use their Deploy Previews feature. Essentially whenever I open up a PR on GitHub, Netlify automatically builds and deploys a preview of that branch.
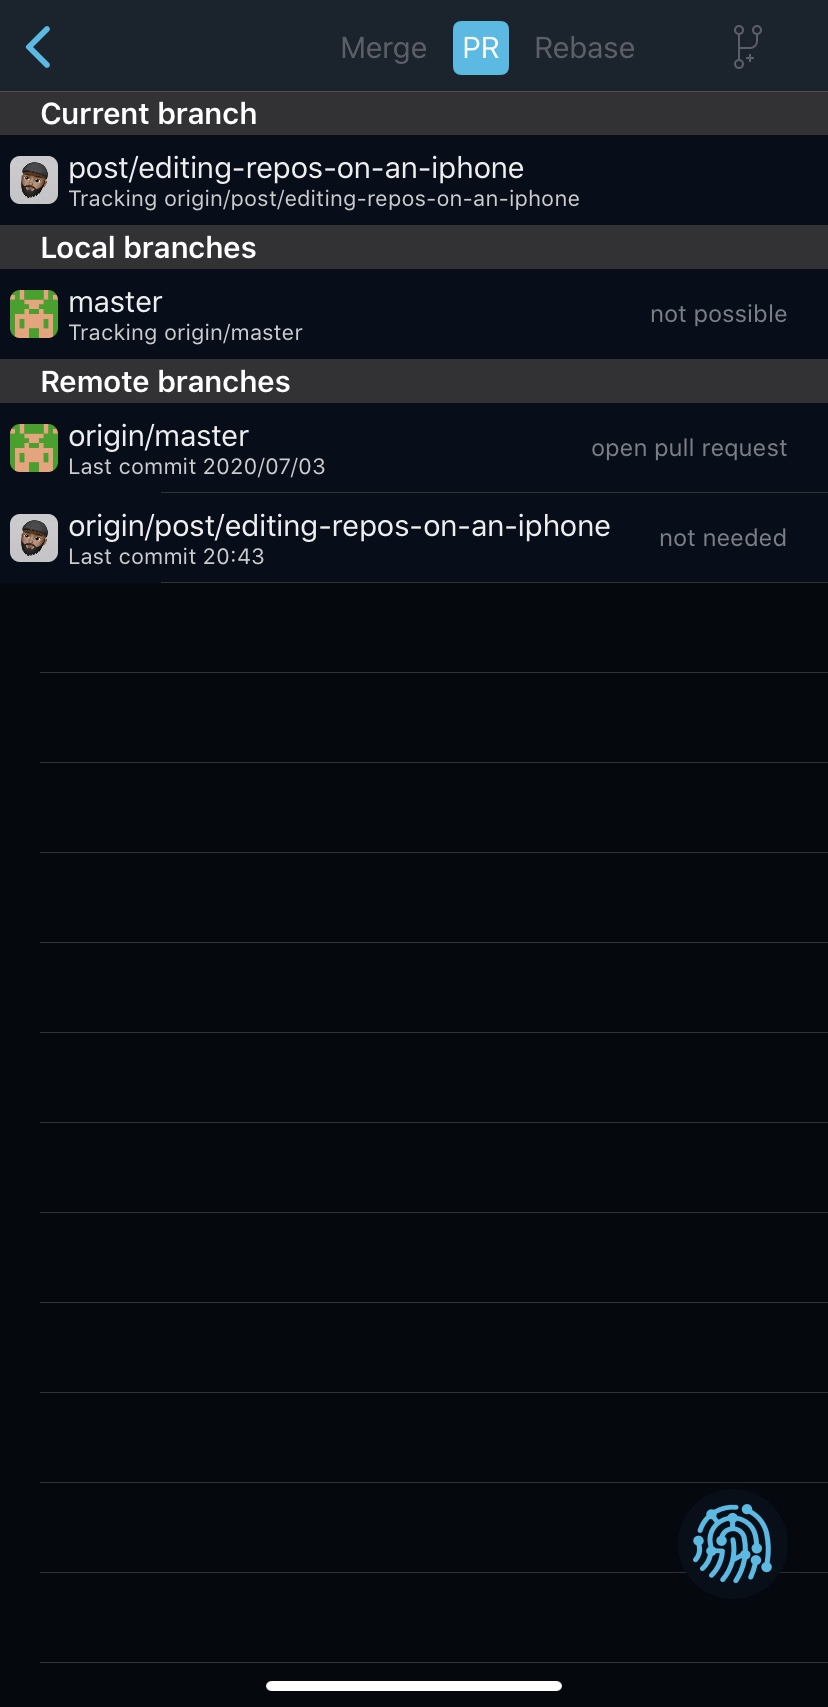
But how can I create a PR from my iPhone? Again Working Copy to the rescue! First I created a branch, committed my changes and pushed them. Then under Branches > Show all branches I clicked the “pr” button and then clicked the branch I wanted to merge my changes into. Working Copy shows you a nice diff view and you can add a title and description for your PR as you normally would!
After creating the PR I opened up the official GitHub app and viewed my open PR. Clicking on “checks” showed the following.
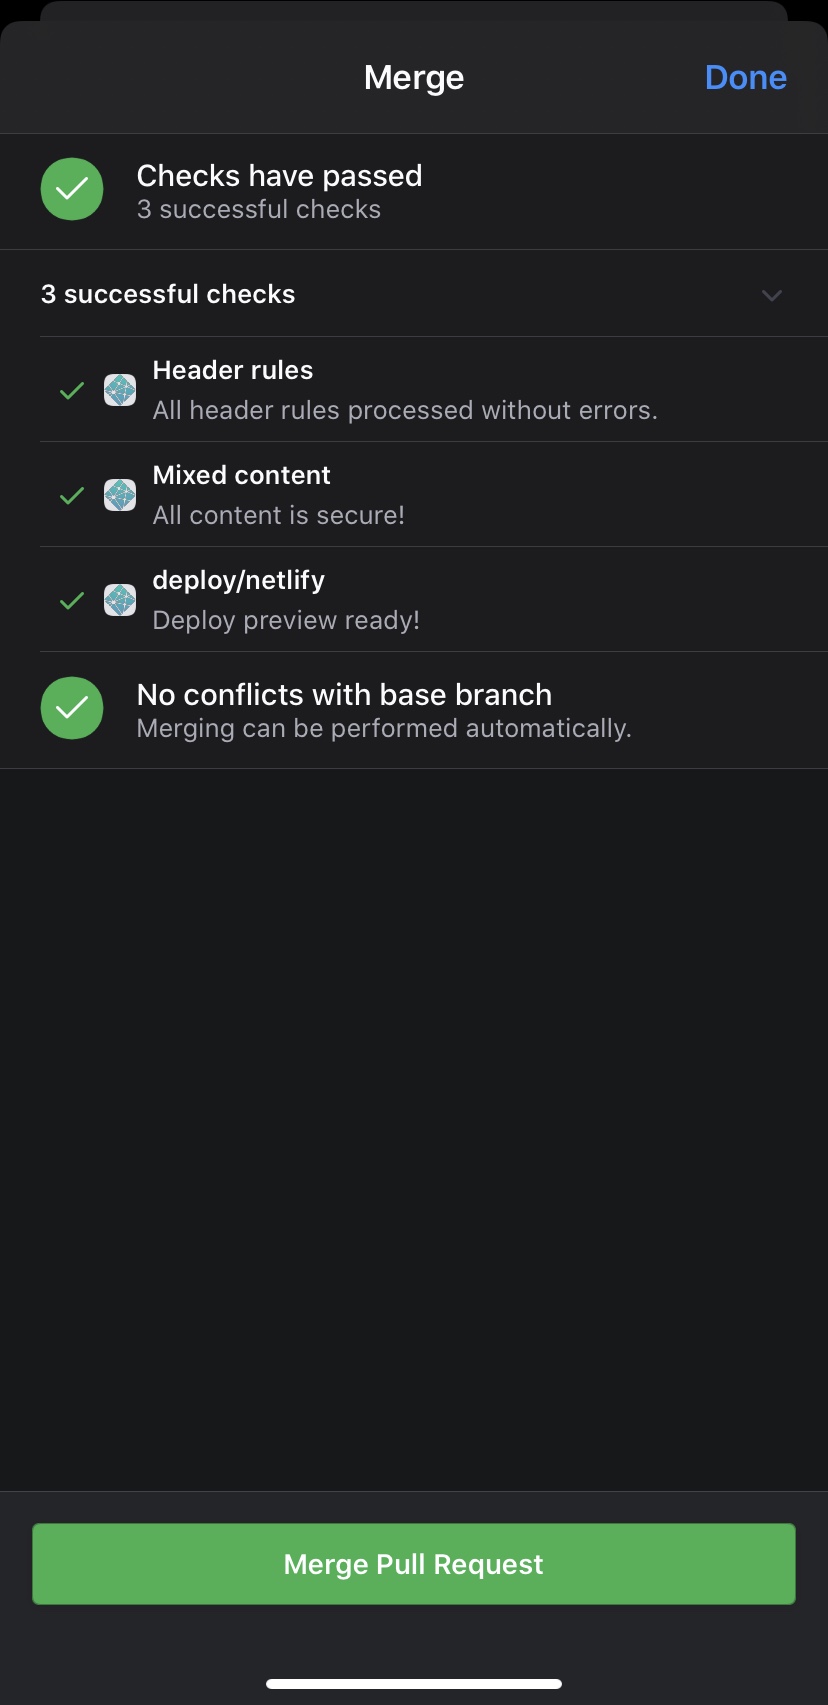
As you can see Netlify deployed a preview version of my blog. Clicking that check will open it up in your browser. Now I can preview my changes without exposing the world to the dodgy spelling and grammar of my first draft!
To fix anything all I had to do was edit the files/images and push changes. Since the PR was still open, Netlify will automatically pick up and deploy these changes to the preview site. Pretty cool!
Once I was happy I merged the PR into master. Now of course, Netlify will deploy these changes to the live version of my site.
Improvements
The workflow worked pretty well overall but there are some things I would like to improve.
- Textastic doesn’t have a spell check. It’s tough to do any kind of writing without this. I want to check out any of the Markdown editors on the AppStore. Ulysses looks good!
- I wish there was a cleaner way to reference images in the Markdown file. Right now I have to import the images into Working Copy, rename them, copy the path and paste them into the Markdown file.
Conclusion
Overall, I’m happy with this type of workflow for small/quick editing. Obviously this doesn’t beat a fully fledged development environment. And I miss Vim/Emacs!
I would imagine this type of workflow can be extended to iPadOS. It could probably be improved significantly paired with the keyboard/touchbar case. I could try deploy a VM somewhere (a Digital Ocean droplet perhaps) with all my tooling installed (vim/emacs/tmux etc) and have a nice Mosh session going from a terminal client (Blink Shell looks good for this).
Do you have a better workflow? Do something similar for on-the-go editing? Let me know in the comments!
That’s it for now folks! Thanks for reading.
Peace ✌🏽